Configuration Companion Cog - Multibot
Welcome to the Dashboard Cog Configuration Guide. While running the below directions, it is assumed that you have installed the dashboard cog from the Toxic Cogs repository, and have loaded it, according to the Installing Companion Cog guide.
Create a list of ports
Because you are choosing to host multiple webservers, you must create a
manual list of ports yourself. For each bot you are planning on running
a webserver for, think up of two ports, one for the bot’s RPC (from now
on referred to as <rpcport>) and one for the webserver (from now on
referred to as <webport>). Each port must be between 1 and 65535.
When you are done, it should look something like this:
Bot |
RPC port |
Webserver port |
|---|---|---|
Redbot #1 |
6133 |
42356 |
Redbot #2 |
6134 |
42357 |
Redbot #3 |
6135 |
42358 |
Warning
If you already created a list of ports for your bots because you started the webserver first, use those instead.
Attention
It is recommended to choose ports with higher numbers, as other applications typically use lower ports.
Set the client secrets
The client secret is used so that the bot can obtain a user’s profile when logging in, and restricts what the user can do on the dashboard according to their assigned permissions. The client secret is never used maliciously, nor is user’s data.
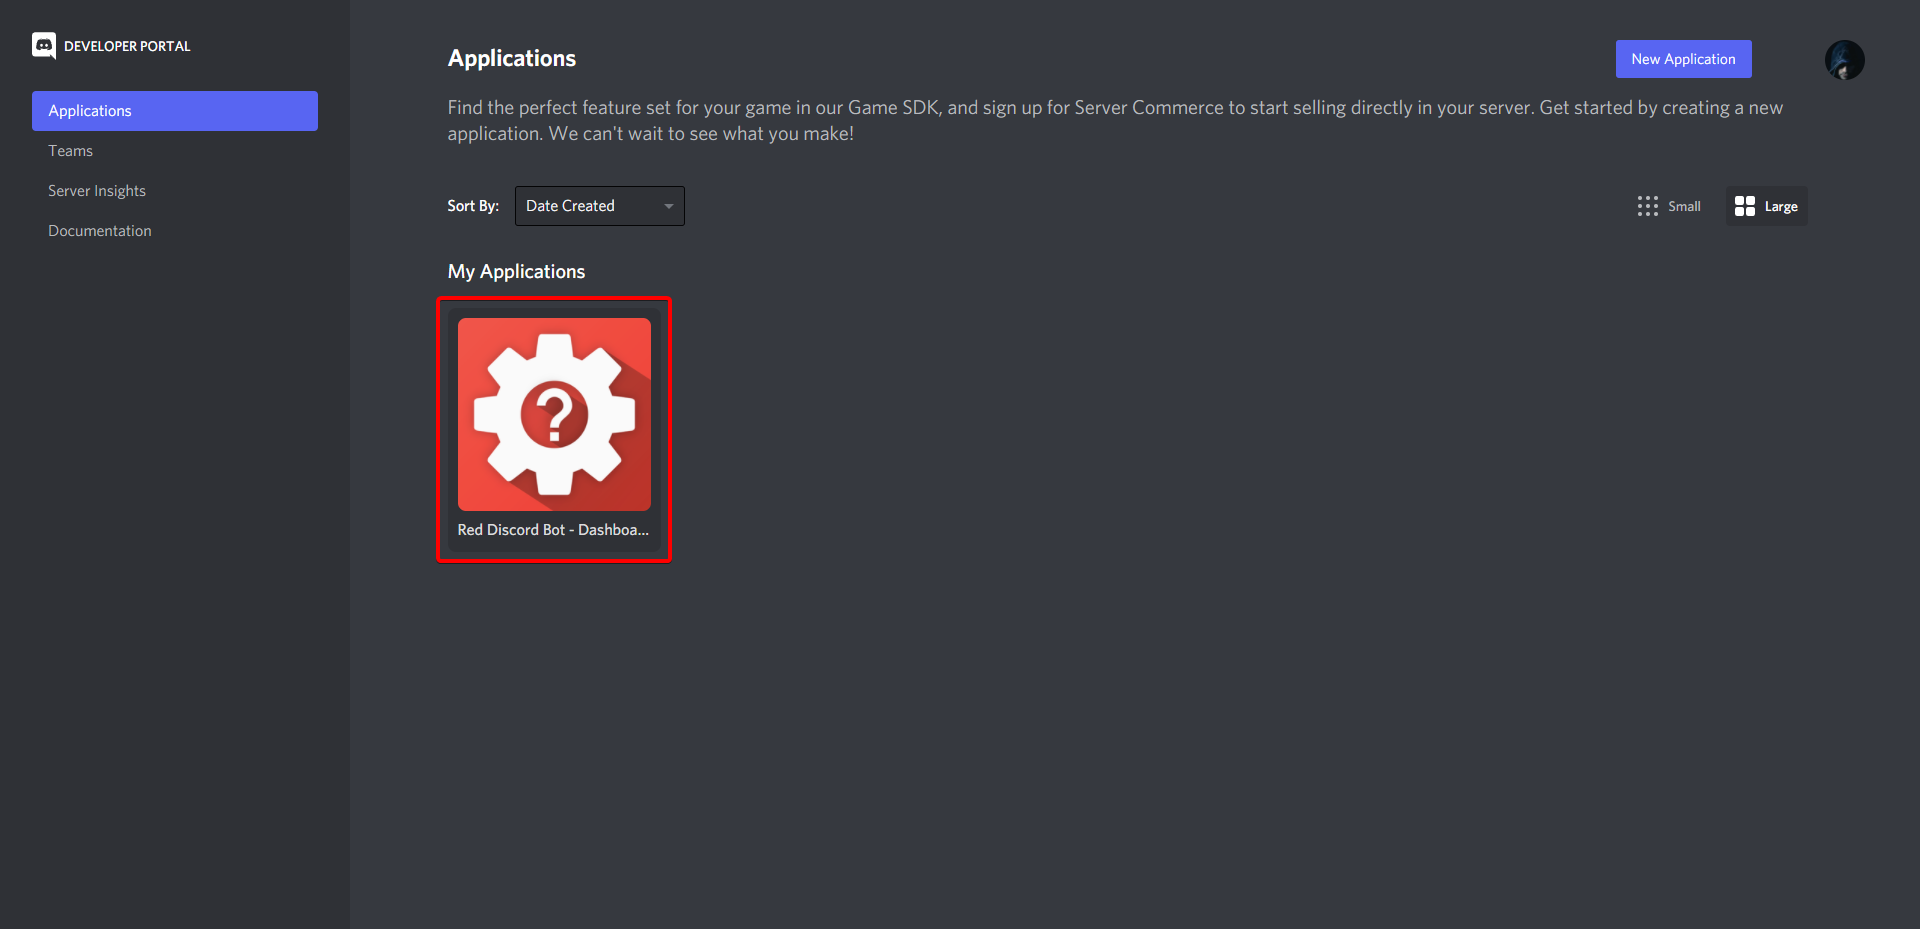
First, login to the Discord Developer Console (found here) and click on your bot’s application.
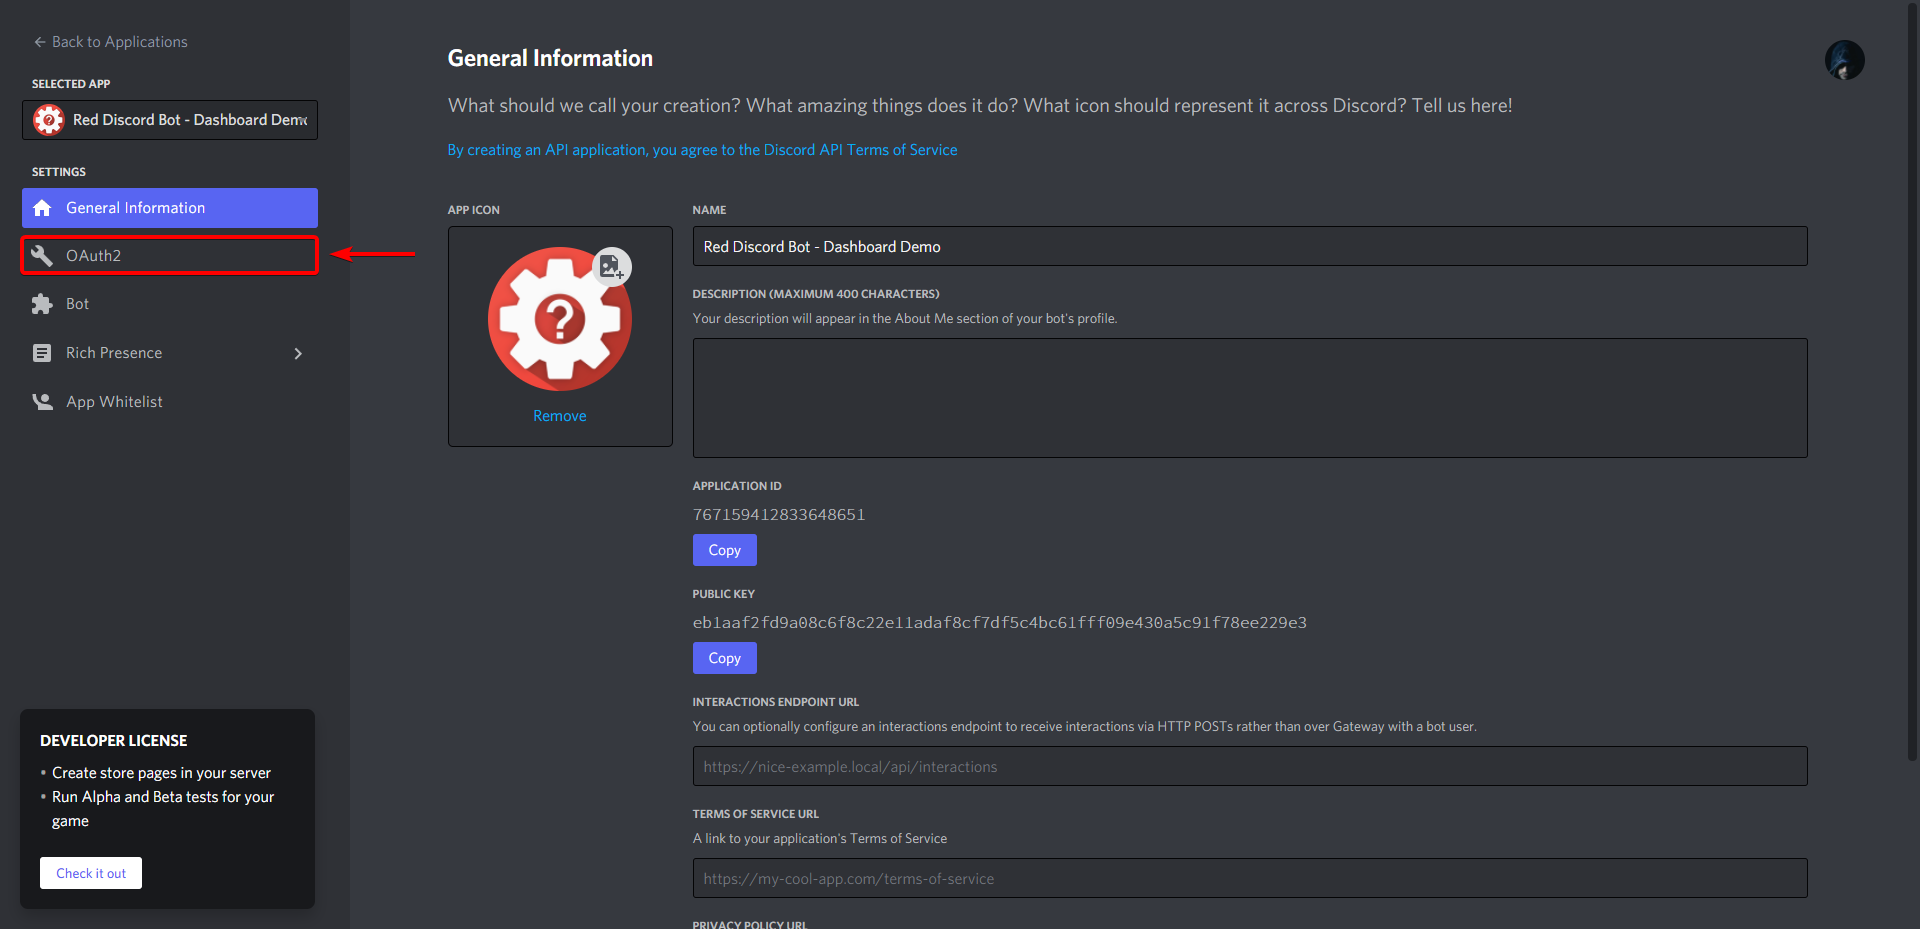
Next, navigate to the tab that says “OAuth2”
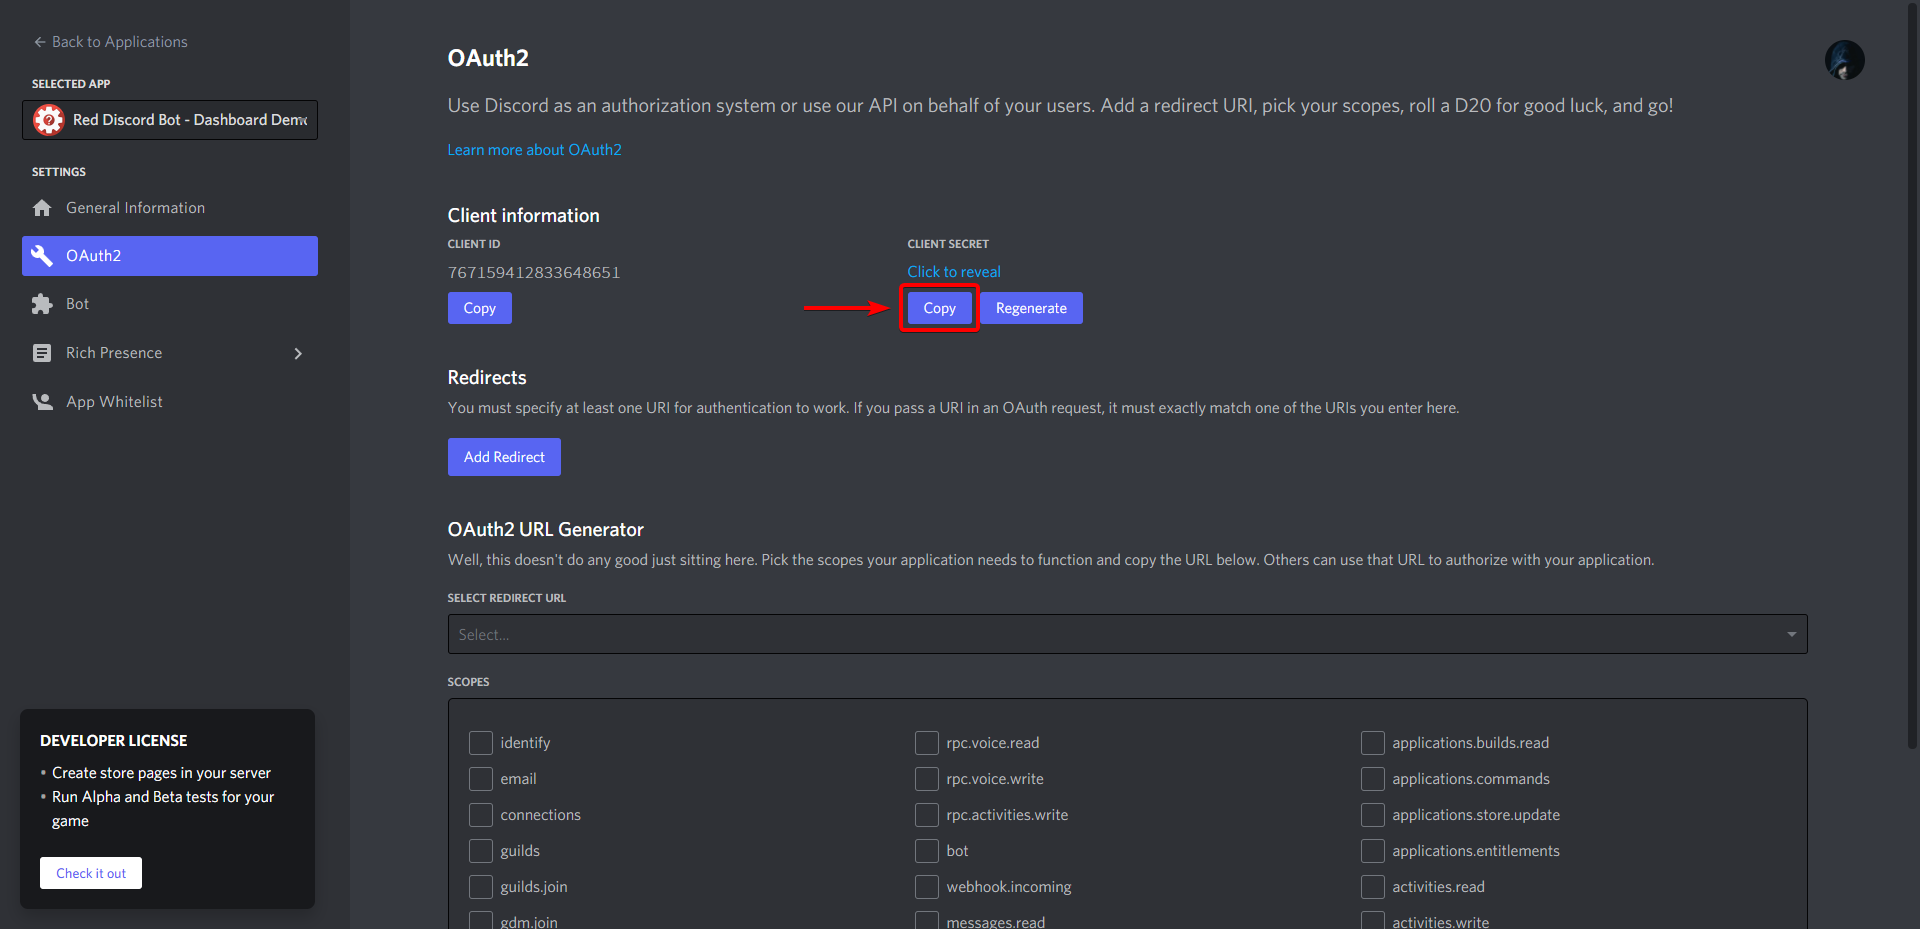
Copy the secret to your clipboard by clicking the Copy button, then take the secret and paste it into the following command, replacing <secret> with your clipboard value.
Tip
[p] represents your bot’s prefix. Make sure to replace it when pasting these commands inside of Discord.
[p]dashboard webserver secret <secret>
Danger
Never, ever paste your client secret anywhere other than in the command listed above. Enter the above command in DMs to ensure that no one copies your token.
Set the redirect URL
The redirect URL is where the user will be redirected after authorizing
the bot access to their profile. In order for the bot to process the
data correctly, the URL must be at the /callback endpoint of the
server.
For each of the bots you wish to set up, you will need to pick an individual redirect URL as each bot must be accessible at different URLs.
Determine your redirect
There are two options for the redirect URL, however one of them is only available under certain circumstances.
Option #1: Domain (Recommended)
Attention
This option is only available of the following is true:
You have a domain bought and set up, and are ready to connect it to the dashboard.
You acknowledge that direct support will not be given for connecting the dashboard to the domain.
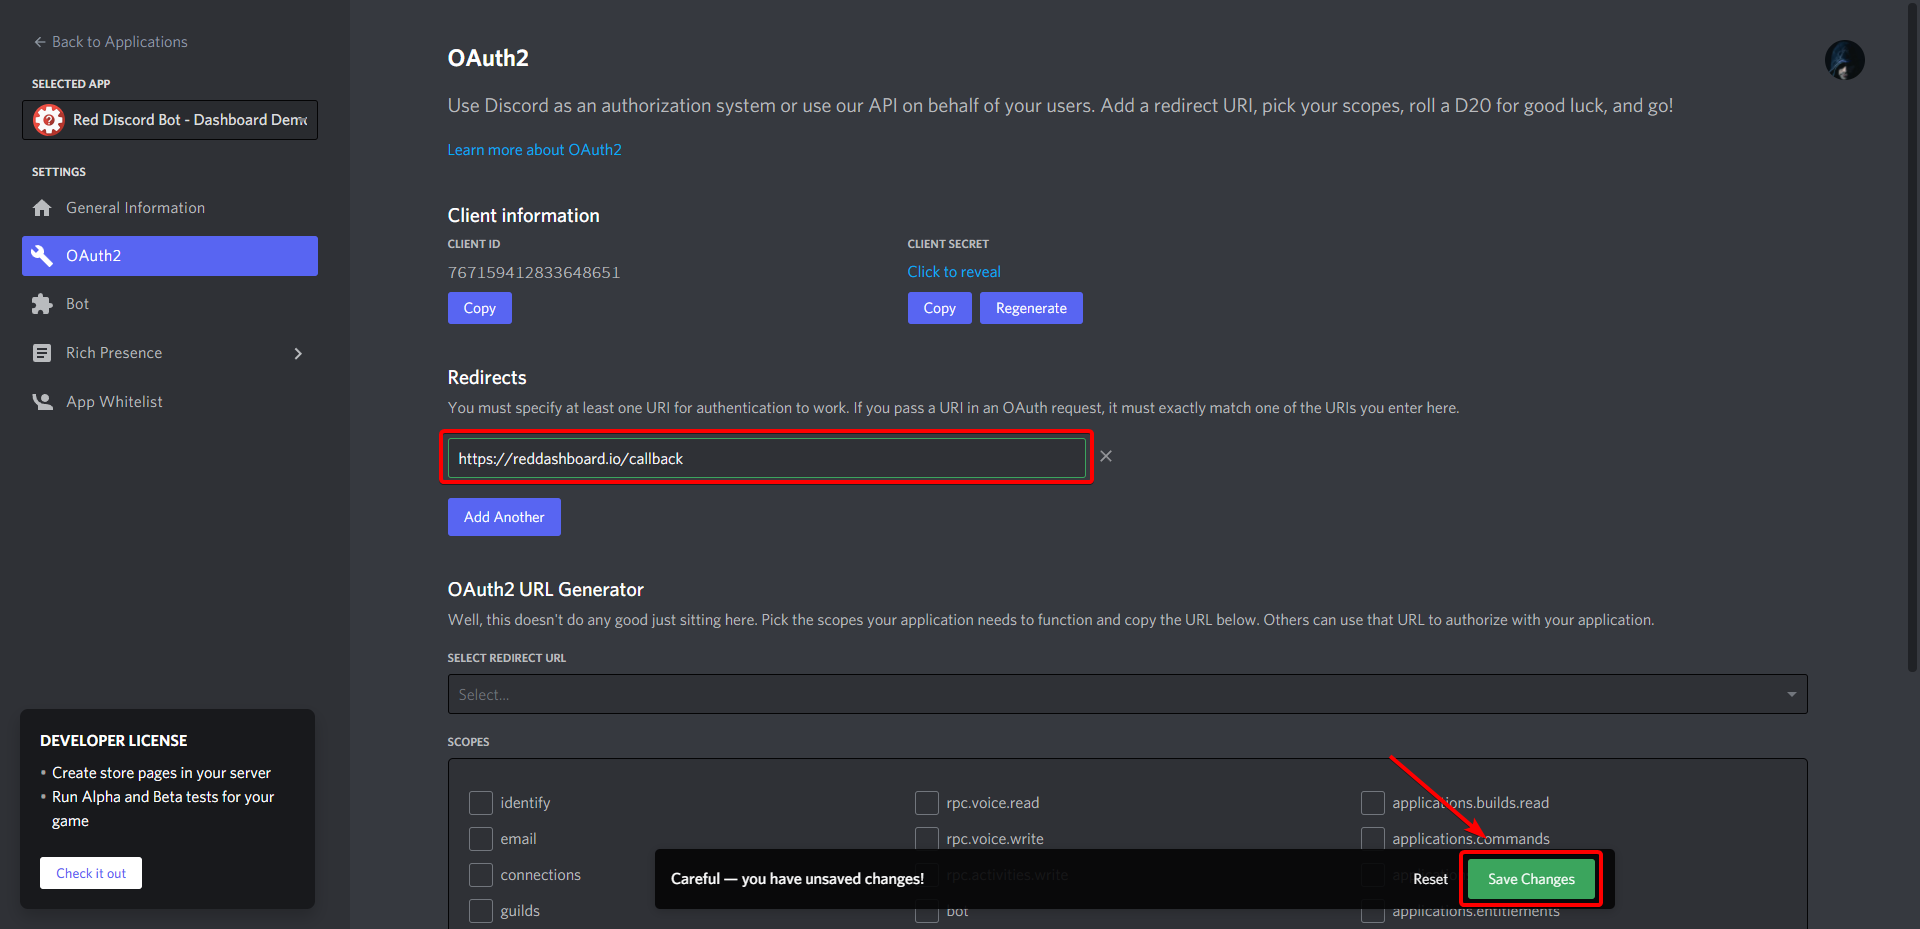
When running on a domain, the redirect should be something like
https://domain.com/callback. For example, if my domain was
reddashboard.io, my redirect would be
https://reddashboard.io/callback. Save this redirect to your
clipboard.
Danger
It is highly recommended to use a reverse proxy when setting up the dashboard. Check out Reverse proxying with Apache or Reverse proxying with Nginx to get started, if you are on Linux.
Option #2: Local/Private IP address
Attention
This option is only available if the following is true:
You only want the webserver accessible to you.
You are running the webserver on a the same network as the computer you will access the dashboard from.
There are two options for the redirect URL in this situation, depending on how you will be accessing the dashboard. Follow the step below depending on which one you prefer:
If you wish to access the dashboard on the same device that the webserver is running on, your redirect URL will be similar to http://127.0.0.1:webserver_port/callback, replacing webserver_port with the port of the associated webserver.
If you wish to access the dashboard on a device that is connected to the same network, your redirect URL will be similar to http://ipaddress:webserver_port/callback, replacing ipaddress with your device’s private IP and webserver_port with the port of the associated webserver.
Tip
You can find your private IP address by running ipconfig on Windows, or ifconfig on Mac/Linux.
Registering the redirect
Copy the redirect URL as determined in the previous step to your clipboard, then paste into the command below, replacing <redirect> with the redirect:
[p]dashboard webserver redirect <redirect>
Switch back to the page for your application on the Discord Developer Console, then under the redirects, click “Add Redirect”
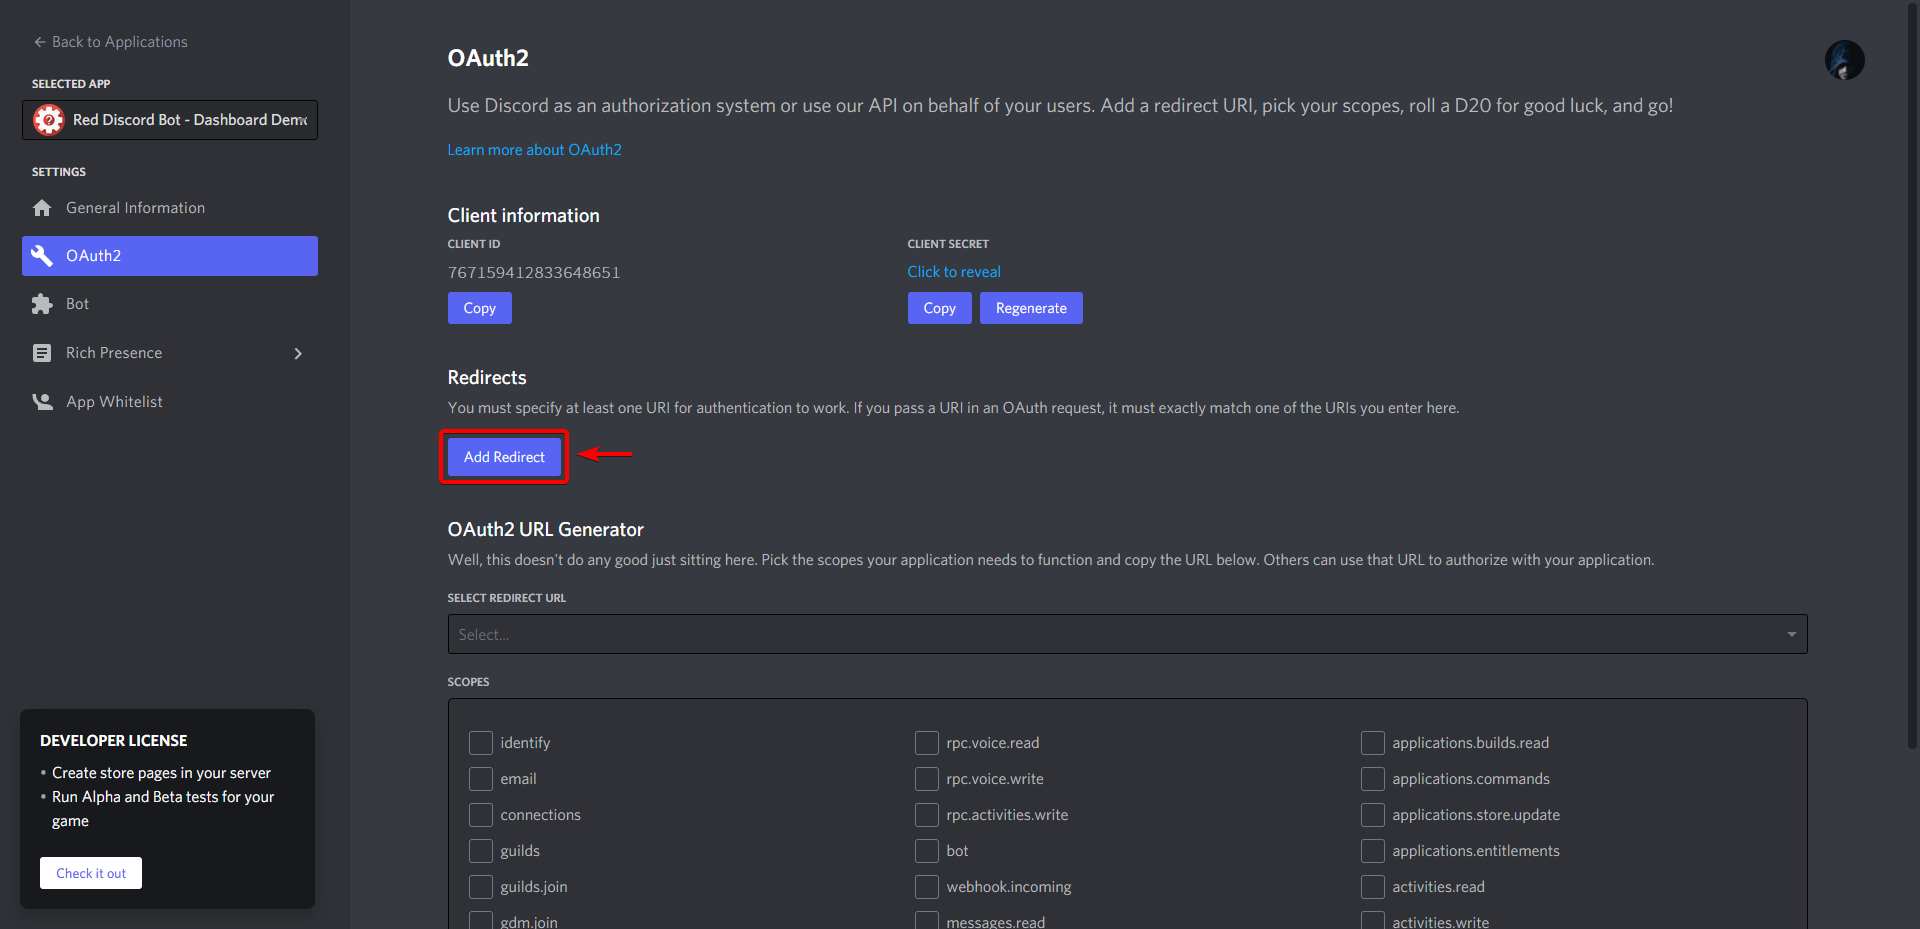
Then paste your redirect into the new field, and click “Save Changes”
Tip
Discord should highlight the box in green if your redirect is a well-formatted URL. If it isn’t, make sure you include http and your domain/IP address properly.
Important
The redirect set in the dashboard cog and the developer portal must be exactly the same, or Discord will prevent authorization.
Register support server (Optional)
You may want to have a link to your support server in case anybody needs
help with the dashboard. To do this, grab an invite link for your
server, and paste it into the command below, replacing <invite> with
the link to your server:
[p]dashboard settings support <invite>
You can now proceed to `Running the Webserver with Multple bots <../launching_guides/running_webserver_multi_bot>` *to finish up the process.